Step 1 – Creating an Export Group
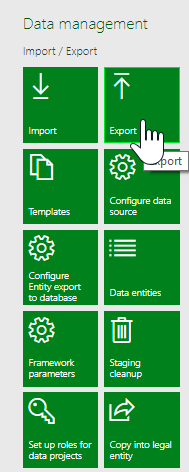
- Navigate to the Data Management workspace in D365FO and select the “Export” button.

- Give your Export Group a name and enter it under the “Group name” field.
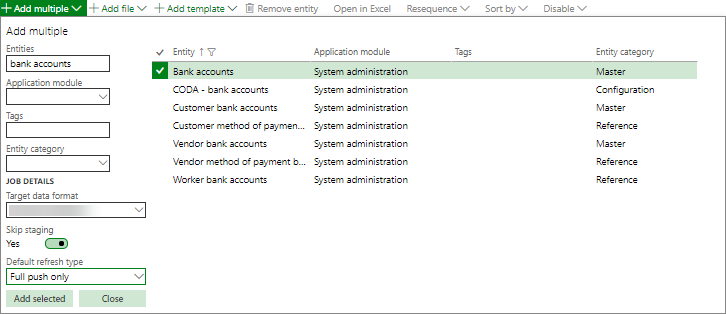
- Depending on if you are adding a single data entity to this export group or adding multiple data entities, decide if you would like to use the “Add entity” or “Add multiple” button at the top of the “Selected entities” pane.

- Use the “Entities” field to filter on the entity(ies) you want to export and click the check mark next to the corresponding data entity(ies). In the “Target data format” dropdown, select the name of the data source that you created in section one, step two of this document. Also, make sure the setting for “Skip staging” is set to “Yes” and the “Default refresh type” is set to “Full push only.” Click “Add selected”.
Step 2 – Export the Data
- Click the “Export” button at the top of the screen.

- You should get the following message – Click “Close”.

- You will now be brought to the “Execution summary” screen. Here you will see the progress of the exports. You will need to press the refresh button in order for the progress to update. When you see a check mark, you will know that the export has succeeded


Post your comment on this topic.